
Step 15 is the final part of our multi-part series on how to build a road bike. There is a free eBook available that gives you instant access to the following:
-
A FREE 43 page Full Color eBook – Available in PDF and iBook Format (iPhone/iPad)
- 15 FREE HD Step by Step Videos
- 110 FREE Full Color Pictures
NOTE* All Park Tool pictures are courtesy of Park Tool. Thank you Park Tool!
To download the free eBook and videos, please visit www.flocycling.com/buildabike.php and enter your email address.
To see Step 6, Installing your Shifters, click here.
To see Step 7, Installing your Cassette and Wheels, click here.
To see Step 8, Mounting your Brakes, click here.
To see Step 9, Aligning your Rear Derailleur, click here.
To see Step 10, Cutting and Installing your Chain, click here.
To see Step 11, Installing Cables and Housing, click here.
To see Step 12, Connecting your Brake Cables, click here.
Step 15 – Installing Your Bar Tape
What You Need
Tools:
- Scissors
Parts:
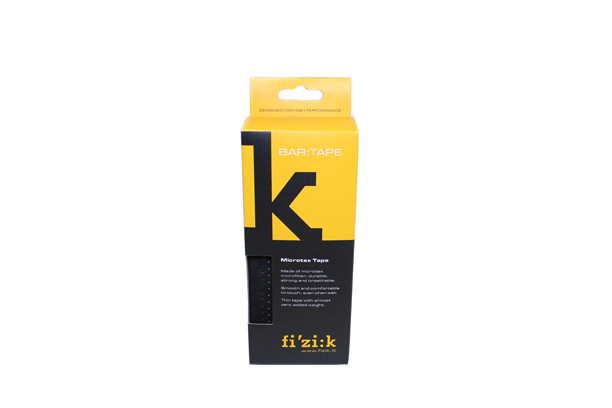
- Handlebar Tape
- Handlebar End Plugs
- Electrical Tape
 |
| Parts |
Before You Get Started
- Handlebar tape comes in a variety of textures and colors. Be sure to ask your local bike shop about what type of handlebar tape would best suit you.
Installation
- Begin by taping your cables into place with electrical tape (see Figure 1).
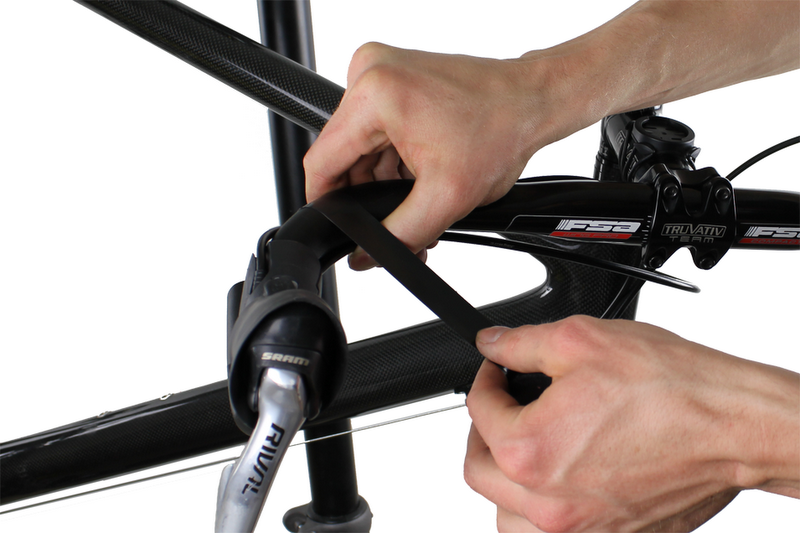 |
| Figure 1 |
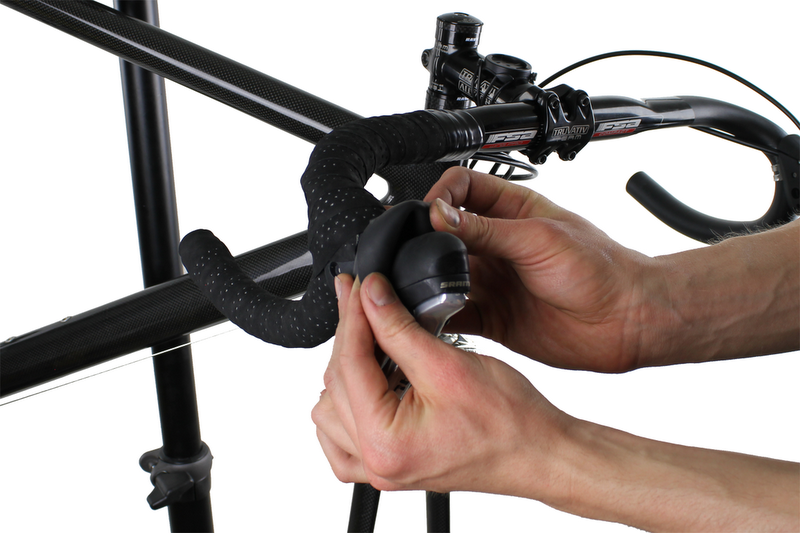
1. Cover your shifter clamps with a small piece of handlebar tape (usually provided with your bar tape and already cut to length) (see Figure 2).
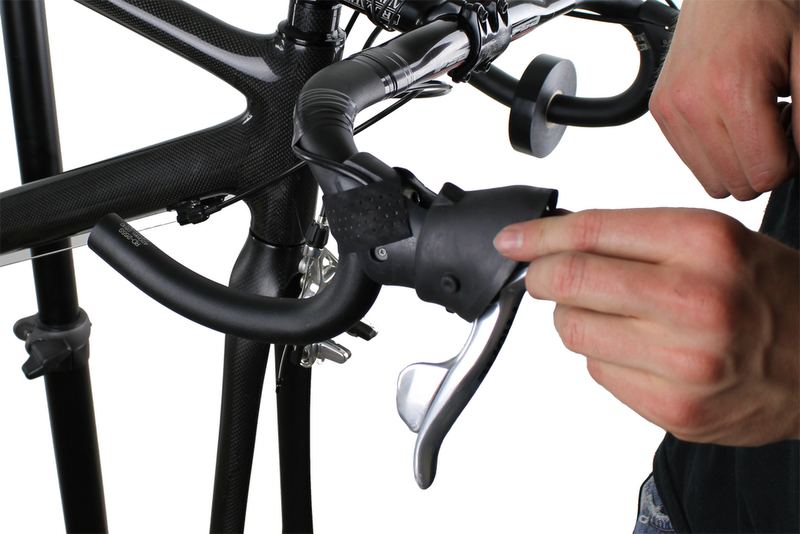 |
| Figure 2 |
2. Beginning wrapping the bar tape around the end of the handlebar. Make sure to pull it tight (see Figure 3).
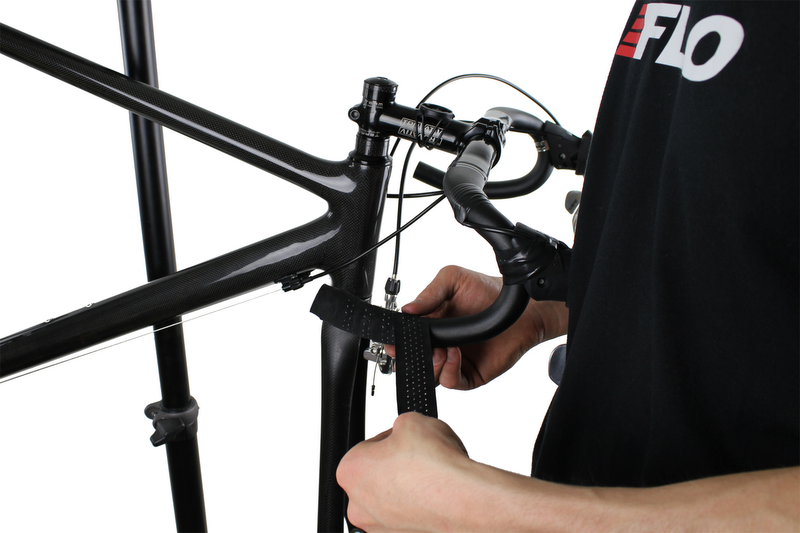 |
| Figure 3 |
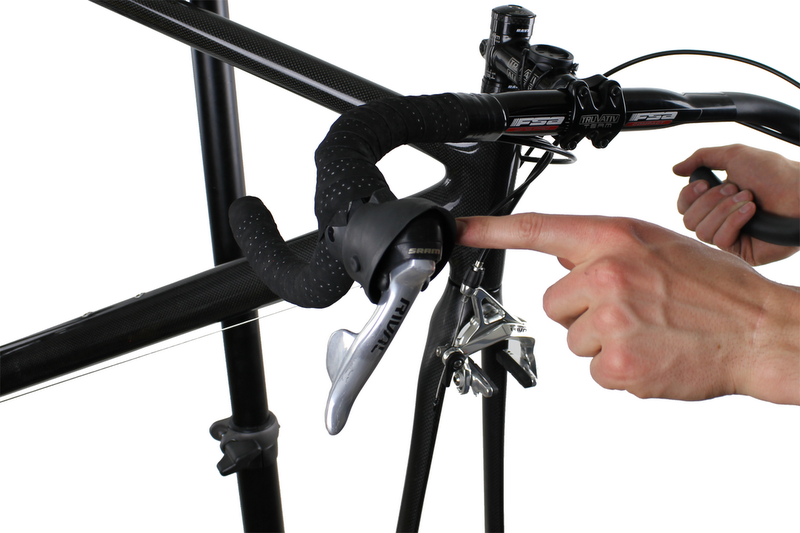
3. Be sure to get full coverage around the shifters. Note: Watch the video for additional information.
4. Finish by taping the end of the handlebar tape with electrical tape (see Figure 4).
 |
| Figure 4 |
5. Roll your hoods back (see Figure 5).
 |
| Figure 5 |
6. Install your bar end plugs (see Figure 6).
 |
| Figure 6 |
7. You now have properly installed handlebar tape.
This completes the installation of your bar tape.
We hope you enjoyed this how-to article. For more great content, please register for our free monthly newsletter at the top of the column on the right. We send links to all the articles we post during the month.
The last several months have been fun showing you how to build a road bike! We hope you’ve enjoyed our eBook and the accompanying videos. If you have any questions about any of the steps, please let us know.

Co-founder at FLO Cycling. Jon manages the day to day operations and acts as the lead engineer for all FLO products.