To see Step 13, Connecting the Rear Derailleur Cable, click here.
Step 14 – Connecting the Front Derailleur Cable
What You Need
Tools:
- Torque Wrench (TW-1 or TW-5)
- Socket and Bit Set (SBS-1)
- Hex Set (HXS-1.2)
- Cutters (SP-7)
- Pliers (NP-6)
 |
| Tools |
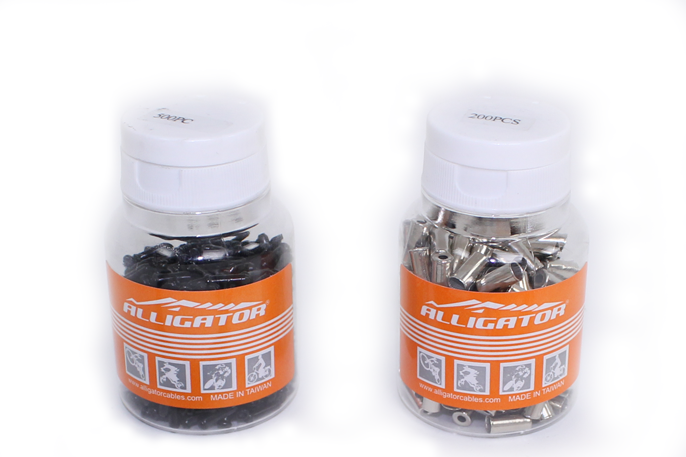
Parts:
 |
| Parts |
Before You Get Started
- To prevent the chain from falling off of the cassette, you can install a chain catcher. These are not necessary but can come in handy.
Installation
1. Before you connect your front derailleur cable, you will want to set the Lo limit adjustment screw. To do this, put your chain in the small ring of your crankset (it should already be there by default) and shift to the largest gear of your cassette.
2. From the back end of the bike, look down the chain-line to see the chain’s position relative to the inner left hand side of the derailleur cage.
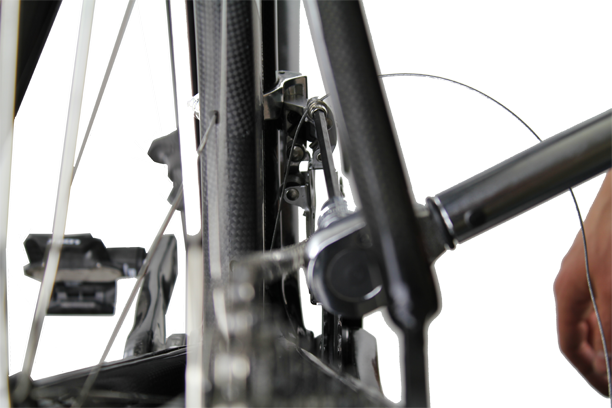
3. Adjust your Lo limit adjustment screw so there is 1mm of space between the chain and the derailleur cage (see Figure 1). Note: Watching the accompanying video will provide additional information and provide a better visual representation.
 |
| Figure 1 |
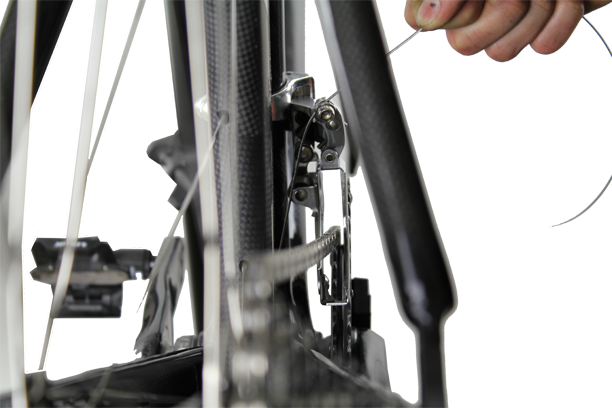
4. Next we will want to connect the front derailleur cable. Begin by passing the cable under the front derailleur cable bolt.
5. Pull the cable tight to remove all of the slack in the cable (see Figure 2).
 |
| Figure 2 |
6. Tighten the derailleur cable bolt to the manufacturer’s recommended torque value using a torque wrench (see Figure 3).
 |
| Figure 3 |
7. It’s now time to set the Hi limit of your front derailleur. Shift your chain into the big ring of the crankset and the smallest gear of your cassette.
8. From the back end of the bike, look down the chain-line to see the chain’s position relative to the inner right hand side of the derailleur cage.
9. Adjust your Hi limit adjustment screw so there is 1mm of space between the chain and the derailleur cage (see Figure 4). Note: Watching the accompanying video will provide additional information and provide a better visual representation.
 |
| Figure 4 |
10. If this is a new front derailleur cable, it will more than likely stretch after shifting through your gears the first few times. After shifting through the gears the first few times, be sure to back off the front derailleur cable bolt and re-tension the cable.
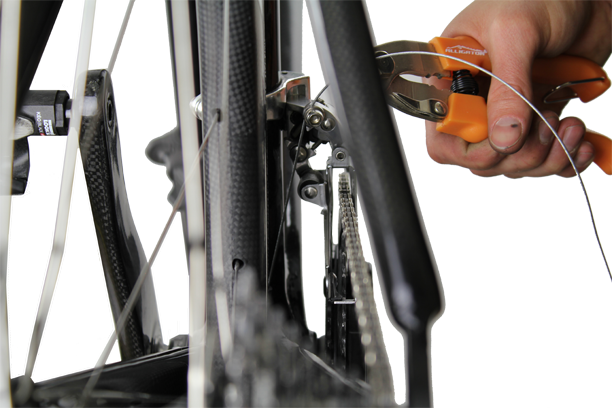
11. Once complete, cut the excess cable and attach and end cap (ferrule) (see Figure 5).
 |
| Figure 5 |
12. You now have a properly connected rear derailleur cable.
This completes connecting the front derailleur cable.