
This is Step 2 of a multi-part series on how to build a road bike. There is a free eBook available that gives you instant access to the following:
-
A FREE 43 page Full Color eBook – Available in PDF and iBook Format (iPhone/iPad)
- 15 FREE HD Step by Step Videos
- 110 FREE Full Color Pictures
NOTE* All Park Tool pictures are courtesy of Park Tool. Thank you Park Tool!
To download the free eBook and videos please visit www.flocycling.com/buildabike.php and enter your email address.
To see Step 1, Installing your Bottom Bracket click here.
Step 2 – Crankset and Pedals (Video Below)
What you Need
Tools:
- Torque Wrench (TW-2 or TW-6)
- Socket and Bit Set (SBS-1)
- Hex Set or Pedal Wrench (HXS-1.2 or PW-5)
- Park Polylube 1000 Lubricant (PPL-1)
 |
| Tools |
Parts:
- Crankset (GXP Compatible)
- Pedals
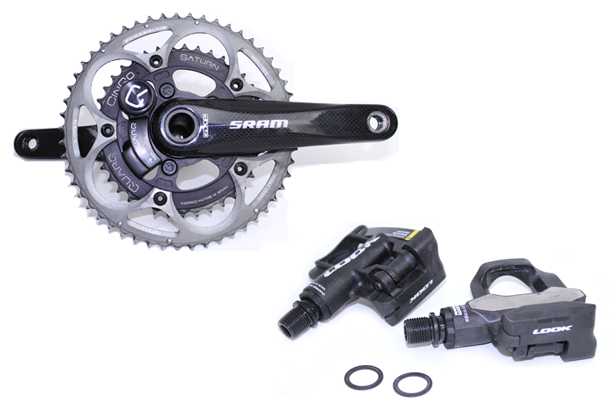 |
| Parts |
Before you Get Started
- Make sure you have a properly installed bottom bracket (see Section 1 of this book if not).
Installation
1. Apply a thin layer of lubrication to the inner bearing races, spline assembly, spline assembly threads, and the crank bolt assembly (see Figure 1). Please watch the video for a more detailed view.
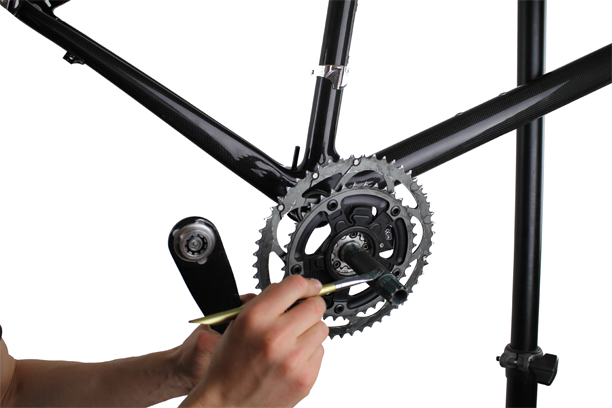 |
| Figure 1 |
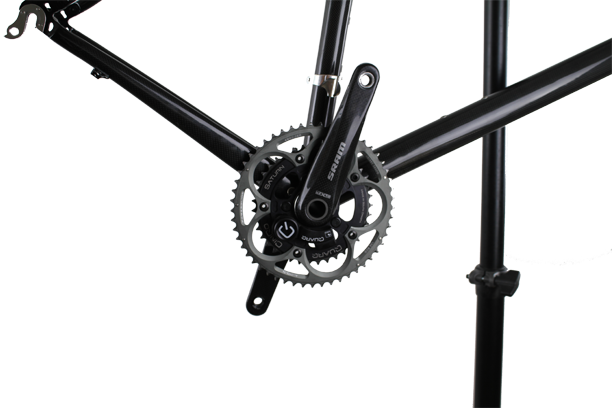
2. Insert the drive side of the crank through the drive side of the bottom bracket (see Figure 2).
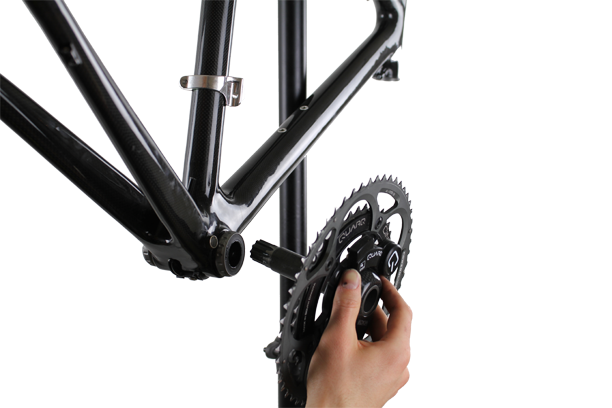 |
| Figure 2 |
3. Connect the non-drive side crank arm to the spline assembly and join the two with an 8mm hex until finger tight (see Figure 3).
 |
| Figure 3 |
4. Torque the 8mm hex to the manufacturers recommended value using a torque wrench (see Figure 4).
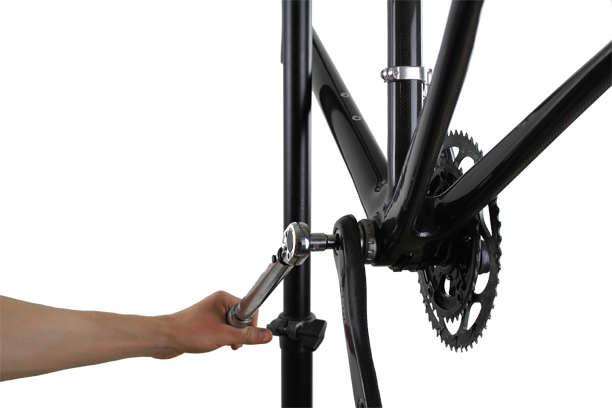 |
| Figure 4 |
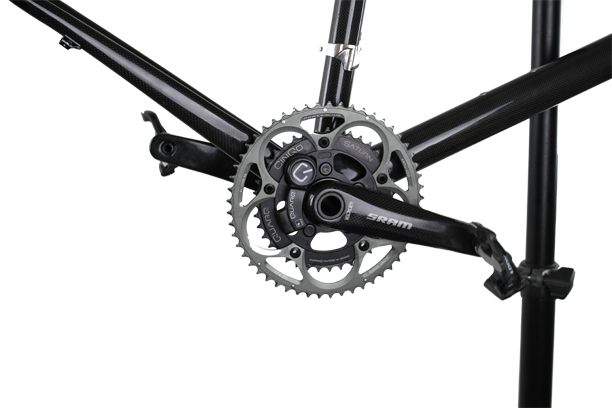
5. Make sure there is no lateral play after the crankset is assembled. If there is, back off the 8mm hex and re-torque the crankset. It may take several attempts to ensure there is no lateral play in the crankset. If there is no lateral play, you have properly installed your crankset (see Figure 5).
 |
| Figure 5 |
6. Apply a thin layer of lubrication to your pedal threads (see Figure 6).
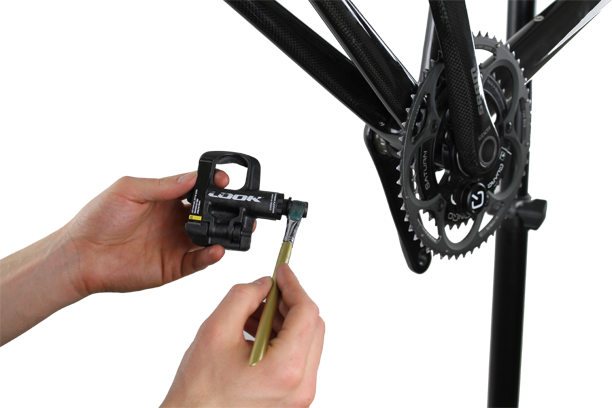 |
| Figure 6 |
7. Install pedal washers on your pedals if necessary (see Figure 7).
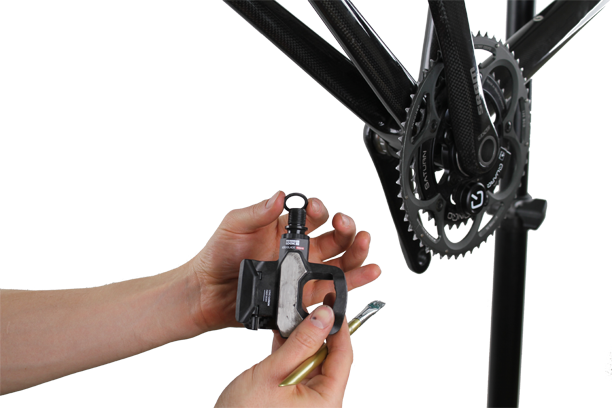 |
| Figure 7 |
8. Insert the pedals into the crank arms and tighten using an 8mm hex or pedal wrench (see Figure 8). Remember that the right pedal has a standard thread (clockwise to tighten) and the left pedal has a reverse thread (counterclockwise to tighten).
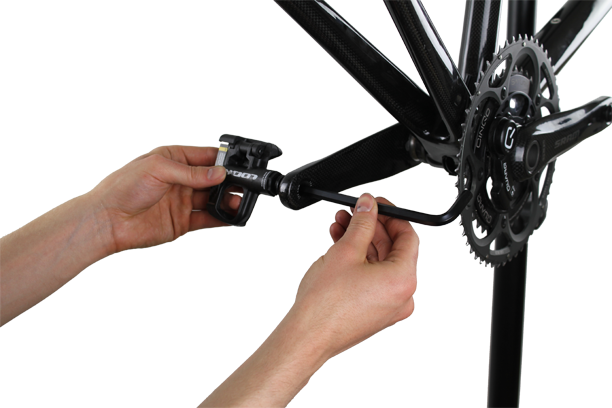 |
| Figure 8 |
9. Torque your pedals to the manufacturers recommendation.
10. You now have properly installed pedals (see Figure 9).
 |
| Figure 9 |
This completes the installation of your crankset and pedals.
We hope you enjoyed this how to article. For more great content, please register for our free monthly newsletter at the top of the column on the right. We send links to all the articles we post during the month.

Co-founder at FLO Cycling. Jon manages the day to day operations and acts as the lead engineer for all FLO products.