This is Step 10 of a multi-part series on how to build a road bike. There is a free eBook available that gives you instant access to the following:
-
A FREE 43 page Full Color eBook – Available in PDF and iBook Format (iPhone/iPad)
- 15 FREE HD Step by Step Videos
- 110 FREE Full Color Pictures
NOTE* All Park Tool pictures are courtesy of Park Tool. Thank you Park Tool!
To see Step 1, Installing your Bottom Bracket, click here.
To see Step 2, Installing your Crankset and Pedals, click here.
To see Step 3, Installing your Fork, Stem, and Handlebar, click here.
To see Step 4, Hanging your Derailleurs, click here.
To see Step 5, Installing your Saddle, click here.
To see Step 6, Installing your Shifters, click here.
To see Step 7, Installing your Cassette and Wheels, click here.
To see Step 8, Mounting your Brakes, click here.
To see Step 9, Aligning your Rear Derailleur, click here.
Step 10 – Cutting and Installing Your Chain
What You Need
Tools:
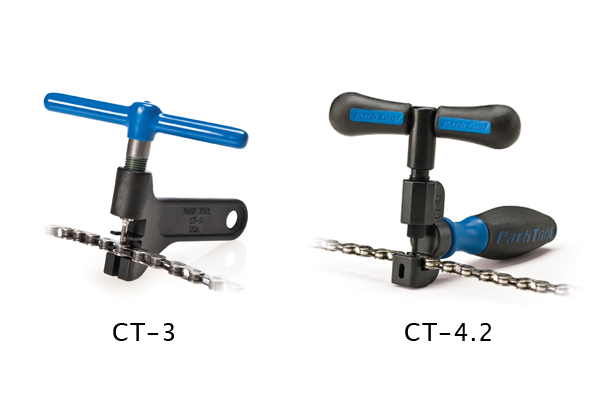
- Chain Tool (CT-3 or CT-4.2)
 |
| Tools |
Parts:
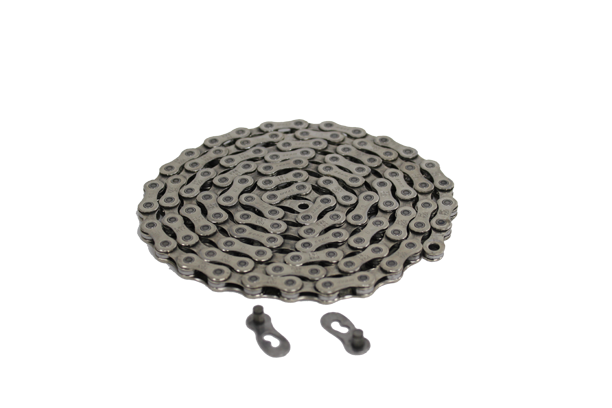
- Chain
- Chain Connector Link (Optional)
 |
| Parts |
Before You Get Started
- Make sure your chain is compatible with your cassette and derailleurs.
- There is an accompanying video available here.
Installation
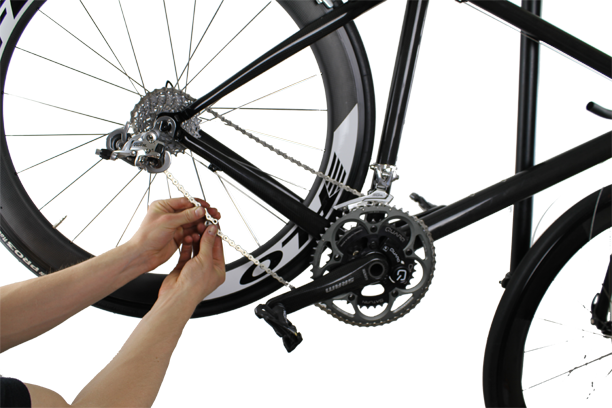
1. To measure the proper length of your chain, wrap it around the big chain ring of your crankset and the largest gear of your cassette while bypassing the rear derailleur.
2. Bring the chain together and add two additional links to find the proper chain length. If you are using a chain connector link be sure to add only one additional link (see Figure 1). Note: Make sure when the chain is cut that both ends are inner links. This will be required for connecting the chain using the chain connector link.
 |
| Figure 1 |
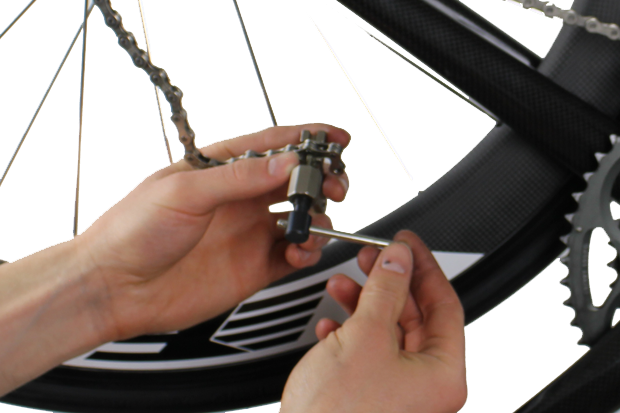
3. Cut the chain using a chain-cutting tool (see Figure 2).
 |
| Figure 2 |
4. Feed the chain through the rear derailleur. Watching the accompanying video will provide a better visual demonstration of how to feed your chain through the rear derailleur.
5. Begin by passing the chain over the top of the cassette (see Figure 3).
 |
| Figure 3 |
6. Pass the chain over and around the upper guide pulley being sure you pass through any chain guides (see Figure 4).
 |
| Figure 4 |
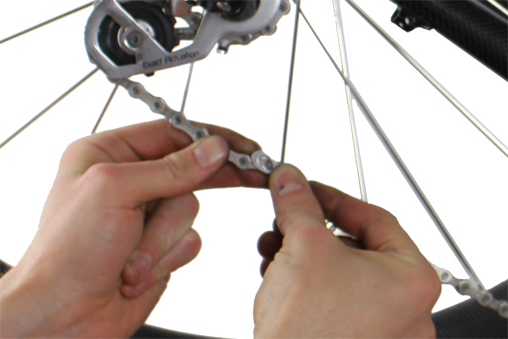
7. Pass the chain over and around the lower guide pulley being sure to pass through any chain guides (see Figure 5).
 |
| Figure 5 |
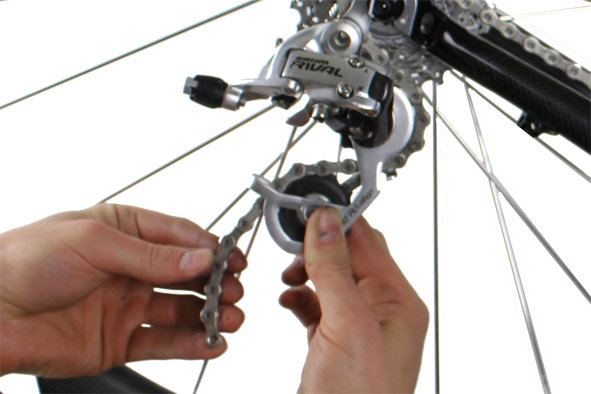
8. Bring the two ends of the chain together and connect the chain via the chain connector link (see Figure 6).
 |
| Figure 6 |
9. You now have a properly installed chain.
This completes cutting and installing your chain.
We hope you enjoyed this how-to article. For more great content, please register for our free monthly newsletter at the top of the column on the right. We send links to all the articles we post during the month.
Co-founder at FLO Cycling. Jon manages the day to day operations and acts as the lead engineer for all FLO products.