-
A FREE 43 page Full Color eBook – Available in PDF and iBook Format (iPhone/iPad)
- 15 FREE HD Step by Step Videos
- 110 FREE Full Color Pictures
NOTE* All Park Tool pictures are courtesy of Park Tool. Thank you Park Tool!
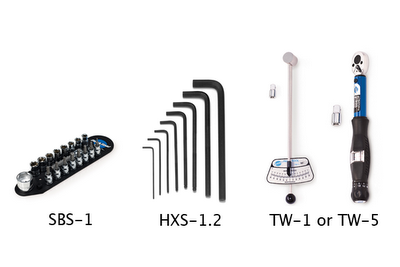
- Torque Wrench (TW-1 or TW-5)
- Socket and Bit Set (SBS-1)
- Hex Set (HXS-1.2)
 |
| Tools |
- Saddle
 |
| Parts |
- Selecting the correct saddle can be a frustrating process. Be sure to get an expert opinion from your local bike shop before purchasing a saddle.
1. Installing your saddle will more than likely be slightly different for everyone following this e-book. This is because saddle clamps vary depending on what type of seat post you use. Following the steps below and watching the accompanying video should ensure that you properly install your saddle.
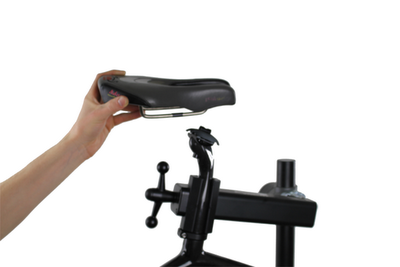
2. Loosen your saddle clamp on your seat post and insert the saddle rails (see Figure 1).
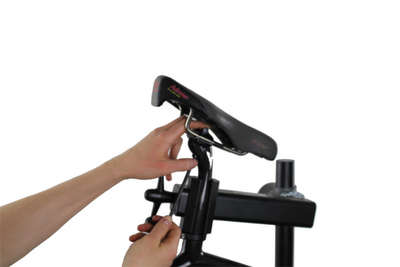
3. Once your saddle is in the proper position, tighten the saddle clamp around the saddle rails using your hex tool (see Figure 2).
4. Torque settings will typically depend on what type of rails your saddle has. Be sure to check your saddle manufacturers recommendation (specifically for saddles with carbon fiber rails) and finish tightening with a torque wrench.
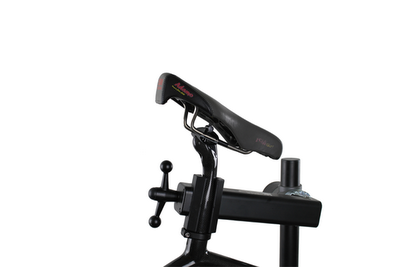
5. You now have a properly installed saddle (see Figure 3).

Co-founder at FLO Cycling. Jon manages the day to day operations and acts as the lead engineer for all FLO products.


